


Spotlight On: Beets
 back to blog overview
Spotlight On: Beets
- posted on: August 10, 2014
- posted by: 21 Acres
"*" indicates required fields


Hi there!
I’m Madeline, one of 21 Acres’ summer interns. I’m a student at Grinnell College in Iowa, but am originally from Kirkland, WA and am home for the summer. I’m extremely passionate about sustainability, food, and health, and I’m so excited to be working at the sustainable food and farm oasis that is 21 Acres! I’ll be writing blog posts for the next couple of months here, among other projects, so you’ll be seeing much more of me soon.


Beets: It seems to me that you either love them or you hate them. If you’re part of the latter group, I’d highly encourage you to try this recipe below just to make sure. I’ve made this recipe for lifelong beet-haters in the past and they’ve been pleasantly surprised. The caramelized, roasted garlic definitely helps!
Plus, now’s the perfect time to be adventurous – beets have been gracing farmers’ markets for awhile, but soon farms (including ours!) will be swimming in these versatile red and golden root veggies.
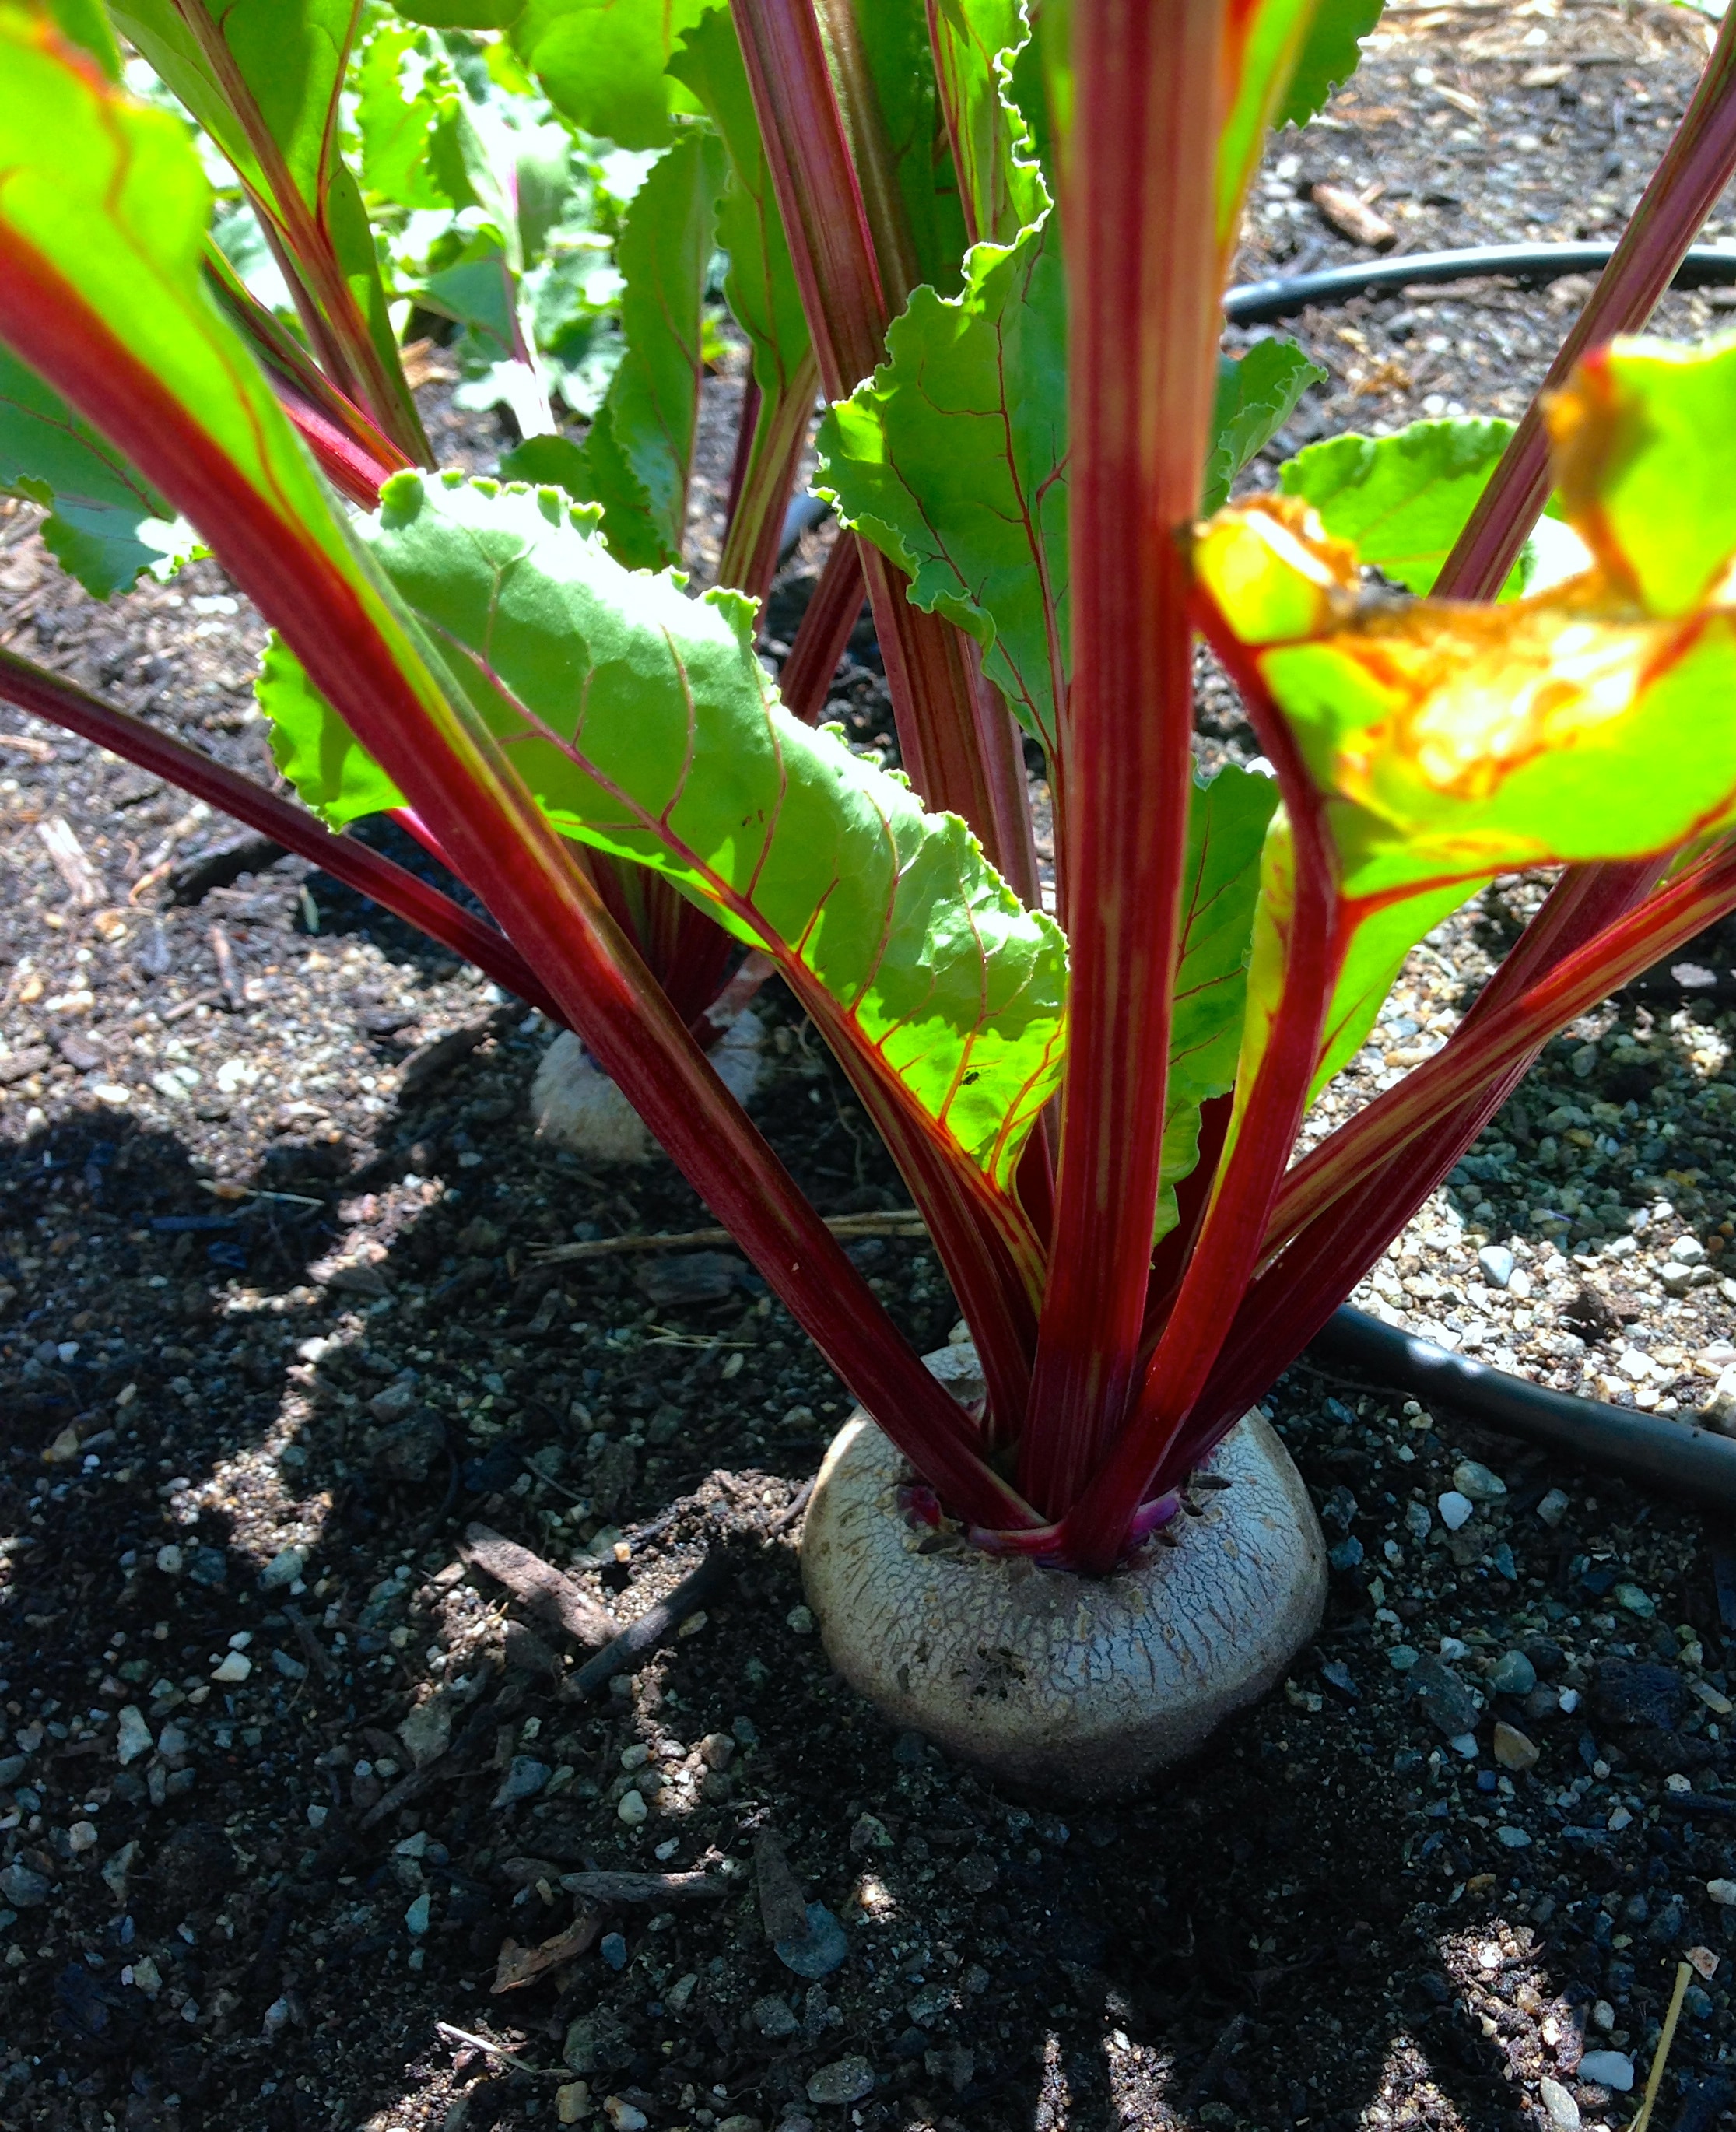
Shopping tip: When you’re buying beets, look for smaller rather than larger beets without holes or splits (larger ones can sometimes be tough and woody). Choose ones with greens that look crisp and aren’t wilted.
Storage tip: If you plan to use the roots and greens for different recipes, store the washed and cut greens in between paper towels in a bag or container in the fridge – they’ll last longer this way. The roots should be stored in a bag or container in the fridge, too.
If you’ve never roasted beets or garlic before, you’re in for a treat. Boiling them would work for this recipe too, but I love them roasted! Our chefs Asako and Sue had some great tips on different ways of roasting beets – see below.
Roasted Beets and Garlic with Sautéed Greens
Serves 4-6
Ingredients
- 2 bunches red or golden beets, with greens attached
- 1 head elephant garlic (recently arrived in 21 Acres Farm Market!)
- Grapeseed oil (olive oil is okay too, but this grapeseed oil is grown in Washington and sold in our Farm Market!)
- 1-2 shallots, minced
- 1 tablespoon apple cider vinegar
- Handful chopped walnuts
- Salt to taste
Directions
These instructions are fairly detailed, but I promise, the process is simple: roast the garlic and beets in the oven until tender, then saute the shallots and greens. Toast the walnuts if you’d like, then combine all of the ingredients and your salad is done!
For the Garlic:
Preheat oven to 375 degrees F. To roast the elephant garlic, cut off the bottom root and about ½ inch from the top to reveal the cloves. Drizzle with grapeseed oil, season with salt, and wrap in foil. Bake for about 25-30 minutes, or until the cloves are golden and tender, then unwrap and let cool before squeezing to remove the cloves. Your kitchen will smell amazing!
For the Beets:
Wash the beets thoroughly, and remove the roots from the greens. Leave the peel on; it’s a lot easier to remove after they’re cooked. Pull the greens off of the stems, tearing them into several pieces, and set aside.
To roast the beets, you have a few options. I usually drizzle the beets with a bit of oil and season with salt, then wrap each beet in foil and bake them on a baking sheet, just like the garlic. Sue and Asako had a few other suggestions, too:
- Cut an X about ½ inch deep into the top of larger beets to help them cook faster. You could also simply cut larger beets in half to shorten cooking time.
- Instead of roasting the garlic separately, put slices or whole cloves of garlic in the same foil packets as the beets. If you cut crosses into the beet tops, you can put slices of garlic in those spaces!
- On hot days when you don’t want to heat up the whole kitchen by using the oven, try firing up the grill! Follow any of the methods above.
Baking time depends on the size of the beets, but they’re done when you can easily slide a knife through the largest beet. For smaller beets, try checking their tenderness around 25 minutes. Larger ones can take up to an hour.
When the beets are done baking, open up the foil packets to let them cool until they’re cool enough to touch, then remove the peels (they should slide off easily). Cut the beets into wedges.
For the Greens + Assembly
The final step, sauteeing the greens, should take only a few minutes. Heat up a bit of oil in a pan, and add the minced shallots. Cook on medium for a few minutes until fragrant and translucent. Add the greens, a splash of apple cider vinegar, and the garlic cloves, cooking until the greens are wilted, about 5-7 minutes.
For the walnuts, you can either toast them or leave them raw. To toast, simply put them in a dry pan over medium heat for a few minutes until fragrant and lightly toasted. They burn quickly, so keep a close eye on them.
Add the beet wedges and toasted walnuts to the pan and toss. Do a final taste to check for salt, and then serve warm.
Thanks for reading! -Madeline
Did you try this recipe? Let us know in the comments below!


-
 13701 NE 171st Street,
Woodinville, WA 98072 -
 Call us at 425-481-1500
 - © 2021 21 Acres. All Rights Reserved.
The 21 Acres Center for Local Food & Sustainable living is a global leader in sustainable & regenerative practices, serving as a living laboratory & learning center for conscious consumers who want to learn new, more sustainable ways of living.


